
Makeup is a great way to enhance your features and feel more confident. However, you don’t always have the luxury of spending hours in front of a mirror perfecting your makeup look. Whether you’re running late for work or need to quickly touch up your makeup before an event, here’s how to do a basic makeup look.
Step 1 (Optional): Shave unwanted facial hair
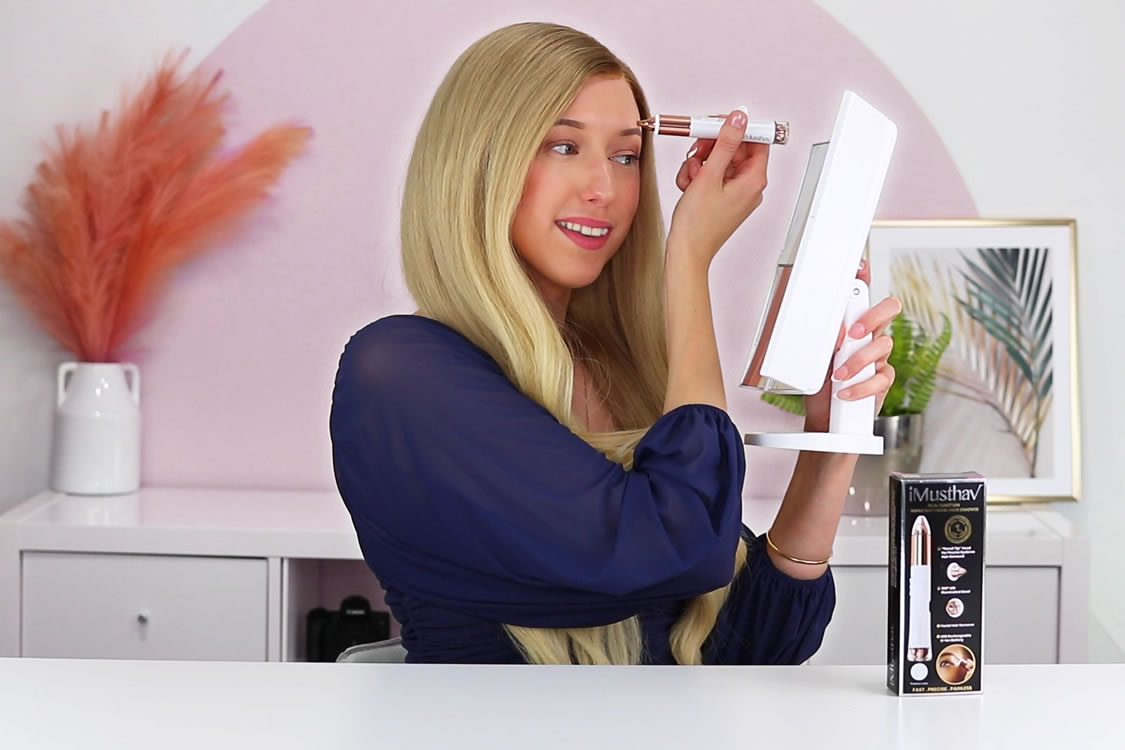
Using a clean and sharp facial hair remover can help to remove any peach fuzz or unwanted facial hair on your face or brow, for example, iMusthav Dual Function Brow and Facial Hair Remover, which is a unique pioneering dual function Eyebrow and Facial hair removal tool. Dual heads provide a precision pencil tip head for sculpting eyebrows and a 13mm rotary head for removing facial hair.
After shaving, rinse your face with warm water to remove any residue.
![]()
Step 2: Cleanse your face
Using a gentle cleanser, wash your face to remove any dirt or oil that may have accumulated on your skin. Pat your face dry with a clean towel.
i. Take a cotton pad or ball and saturate it with micellar water.
ii. Gently wipe the pad over your face, starting at the center and working your way outwards.
iii. Pay special attention to areas where you may have more makeup, such as around your eyes and mouth.
iv. Repeat until your skin feels clean and refreshed.
![]()
Step 3: Moisturize and prime
The first step to any successful makeup look is to prep your skin. Start by washing your face and applying a lightweight moisturizer. Allow it to absorb into your skin for a few minutes before applying a primer. A primer will help your makeup stay in place throughout the day.
i. Apply a lightweight moisturizer to your face and neck, using gentle upward motions.
ii. Allow the moisturizer to absorb into your skin before applying a primer.
iii. Pump a small amount of primer onto your fingertips and gently blend it into your skin.
iv. Wait a few seconds before applying makeup to allow the primer to set

Step 4: Apply foundation
Next, apply a light layer of foundation or BB cream to even out your skin tone. Use a brush or your fingers to blend it in, making sure to cover any areas that need extra coverage.
i. If using a stick foundation, apply a few swipes of product to your forehead, cheeks, nose, and chin. If using a cushion foundation, use the included sponge to dab the product onto your skin.
ii. Blend the foundation in with a damp beauty sponge or your fingers, making sure to blend evenly around your hairline and jawline.
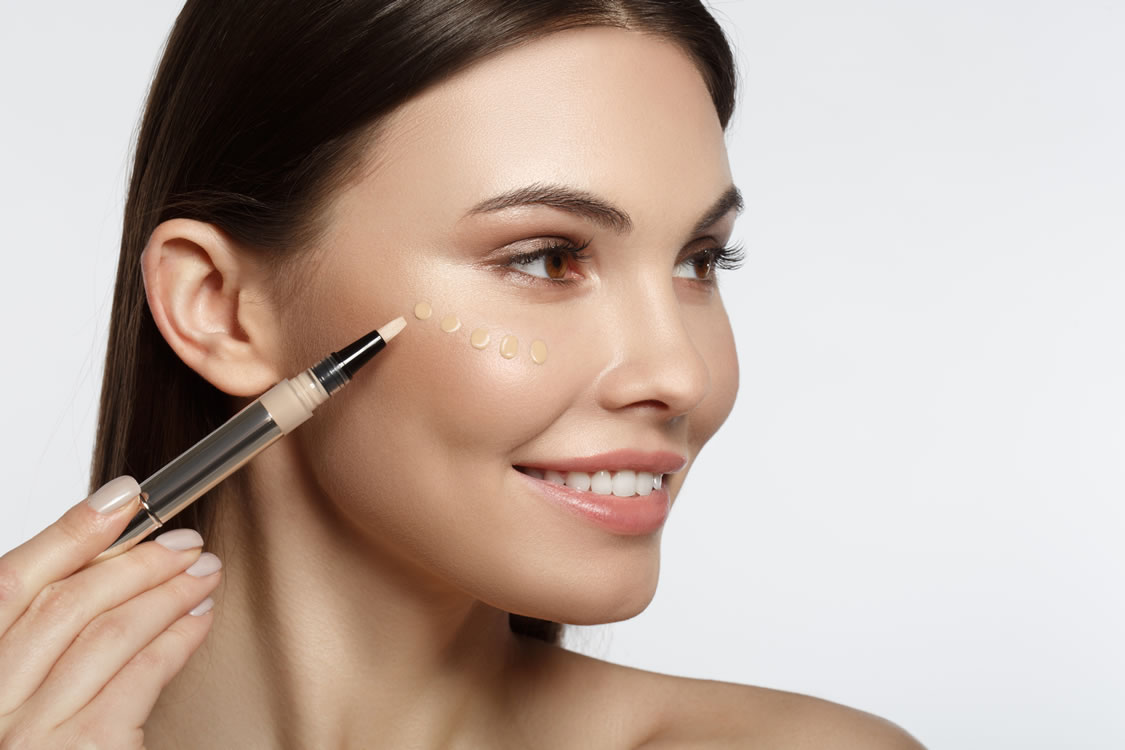
Step 5: Conceal under-eye circles
If you have under-eye circles or any blemishes that need extra coverage, apply a concealer using a small brush or your fingertips. Blend it in well and make sure to set it with a powder.
i. Apply a small amount of peach-toned corrector to any areas where you have dark circles.
ii. Use your ring finger to gently blend the product in, making sure to blend it outwards to avoid any harsh lines.
iii. Apply concealer in a triangle shape under your eyes, making sure to blend it in with a damp beauty sponge for a seamless finish.

Step 6: Add color to your cheeks
To add some color to your face, use a cream blush or a powder blush. Smile and apply the blush to the apples of your cheeks using a brush, then blend it out towards your hairline.
i. Dab a small amount of cream blush onto the apples of your cheeks.
ii. Blend it in with your fingertips, making sure to build up the color gradually to avoid looking too heavy-handed.
iii. Make sure to blend the blush well into your skin to avoid any harsh lines.
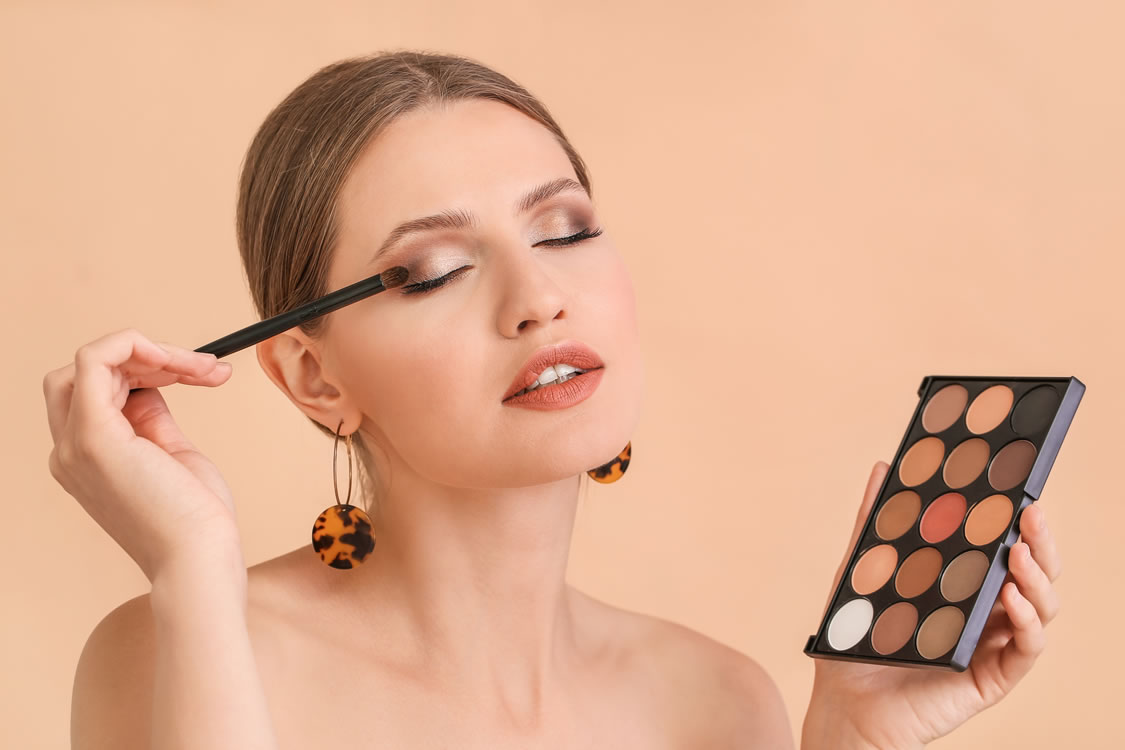
Step 7: Define your eyes
Using a neutral eyeshadow, apply it all over your eyelids using a brush. You can also apply a slightly darker shade in the crease of your eye to create more depth. Next, apply a coat of mascara to your lashes to define your eyes.
i. Start at the base of your lashes and wiggle the mascara wand upwards, making sure to coat each lash evenly.
ii. Apply additional coats as desired, being careful not to let the mascara dry between coats.
iii. If you want to add further definition, consider using a neutral eyeshadow shade to blend into your crease.

Step 8: Define your brows
Adding this step to your makeup routine can help to frame your face and make your eyes stand out even more. Remember to use a light hand when filling in your brows to avoid an overly bold or unnatural look.
i. Comb your brow hairs upward using a spoolie brush or brow comb.
ii. Using a brow pencil or pomade, fill in any sparse areas by drawing small, hair-like strokes in the direction of your natural brow hairs.
iii. Use a brow brush or spoolie to blend the product into your brows and soften any harsh lines.
iv. Set your brows in place using a clear brow gel or a tinted brow gel that matches your hair color.
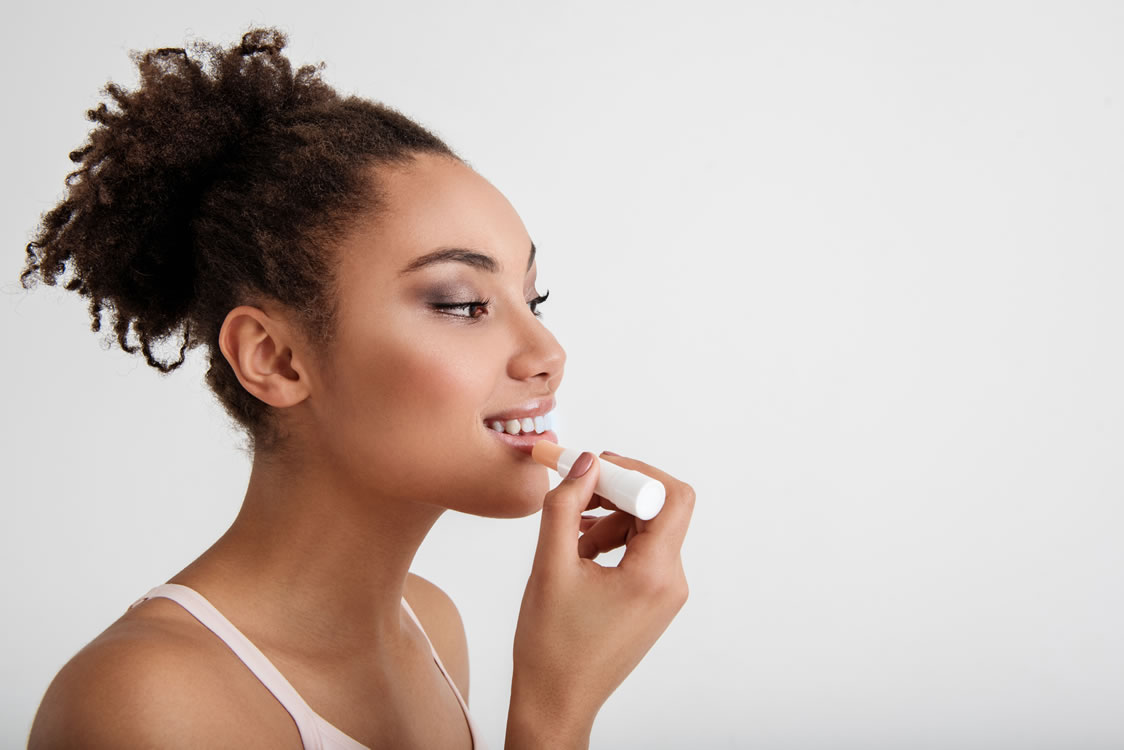
Step 9: Add color to your lips
Finish off your look by applying a lip gloss or lipstick in a color that complements your skin tone. Choose a shade that is easy to apply without a mirror, such as a nude or a sheer pink.
i. Apply a tinted lip balm or lip gloss to your lips, starting in the center and working your way outwards.
ii. Be sure to stay within your natural lip line to avoid any bleeding.
iii. Blot your lips with a tissue to remove any excess product.
Follow these steps, you can create a basic makeup look that enhances your natural beauty and leaves you feeling confident and ready to take on the day. Remember to take your time and practice to find what works best for you.

