
Besides using iMusthav products at home to handle all your hair removal needs, hairstyles are an essential part of any outfit to increase your charm too, and the French braid is a classic and elegant style that can elevate any look, it has been popular for centuries.
The French braid is a popular hairstyle among celebrities, and many have been spotted wearing this classic look on the red carpet and in their everyday lives. Here are a few examples:
- Blake Lively: The actress and fashion icon has been seen wearing a French braid on many occasions, including at the 2016 Cannes Film Festival.
- Emma Watson: The actress and activist has been known to rock a French braid on the red carpet, including at the 2014 Golden Globe Awards.
- Jennifer Lawrence: The Oscar-winning actress has been spotted wearing a French braid in her everyday life, including while out and about in New York City.
- Kim Kardashian: The reality TV star and fashion mogul has been seen wearing a French braid on many occasions, including at the 2015 Met Gala.
- Selena Gomez: The singer and actress has been known to wear a French braid on the red carpet, including at the 2013 MTV Movie Awards.
This beautiful braid is perfect for any occasion, from a casual day out to a formal event. These celebrities show that the French braid is a versatile and timeless hairstyle that can be worn by anyone, no matter their personal style or occasion, from a simple braid down the back to a more intricate updo.
This week, iMusthav’s Editor would like to show you how to do a French braid step-by-step, so you can create this timeless look at home. With a little practice, you’ll be able to master this classic hairstyle and add it to your repertoire of go-to looks. So, let’s get started!
Step 1: Prepare Your Hair
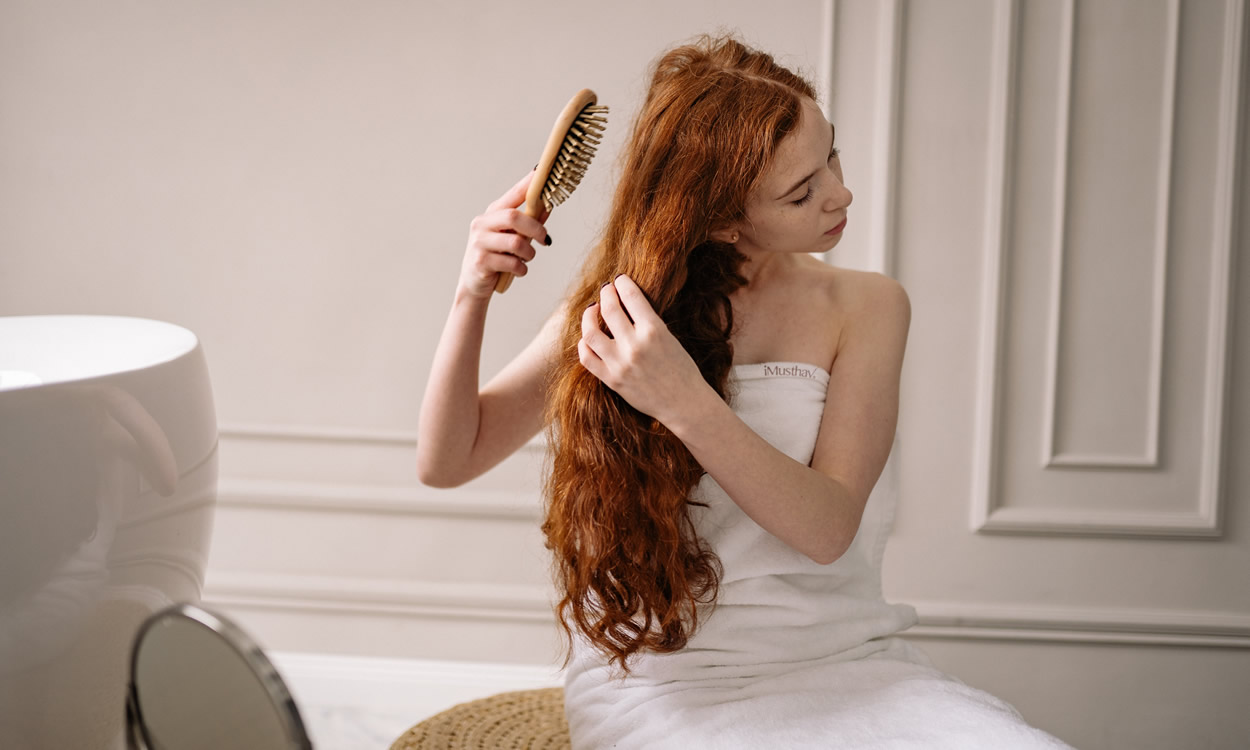
To achieve the perfect French braid, start with clean, dry hair. For added texture and grip, apply a small amount of styling mousse or dry shampoo to your roots. This will help prevent your braid from slipping and ensure it stays in place throughout the day. Brush your hair thoroughly to remove any tangles and create a smooth canvas for braiding.
Step 2: Section Your Hair
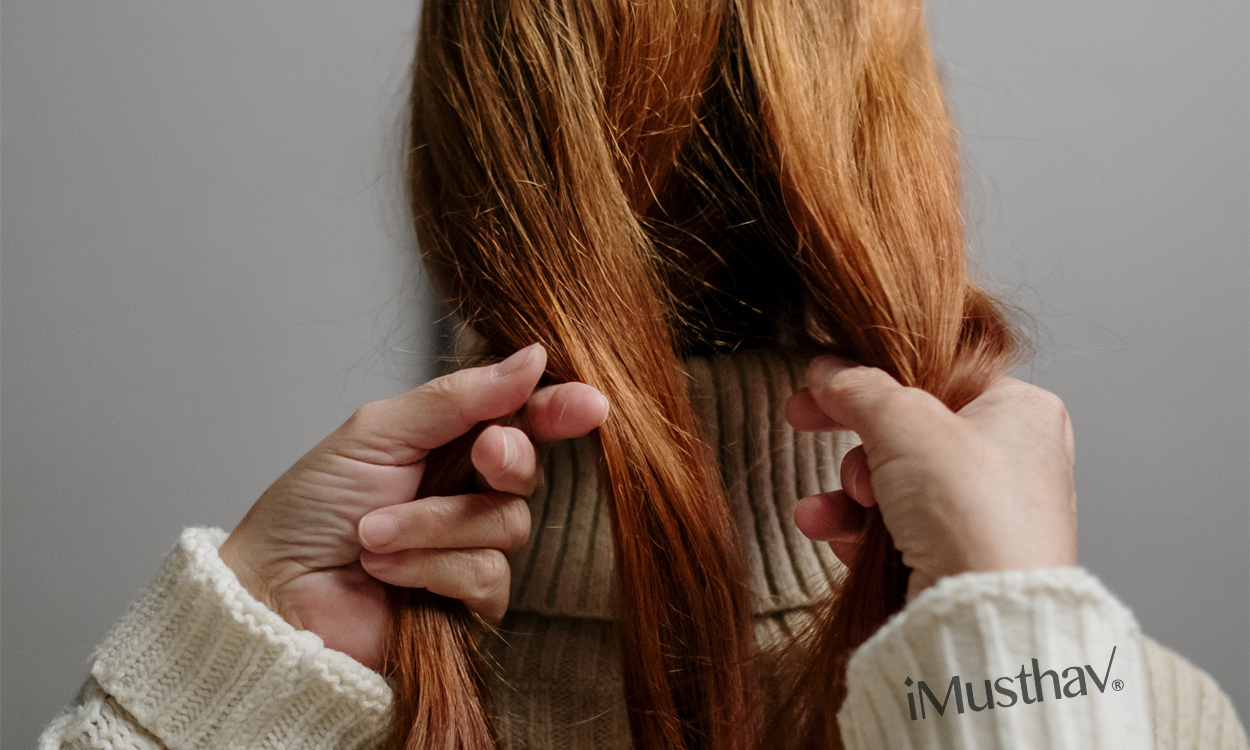
Begin by gathering a small section of hair at the top of your head, near your hairline. Divide this section into three equal strands: left, middle, and right. Hold the left strand in your left hand, the middle strand between your left thumb and index finger, and the right strand in your right hand.

Step 3: Start Braiding
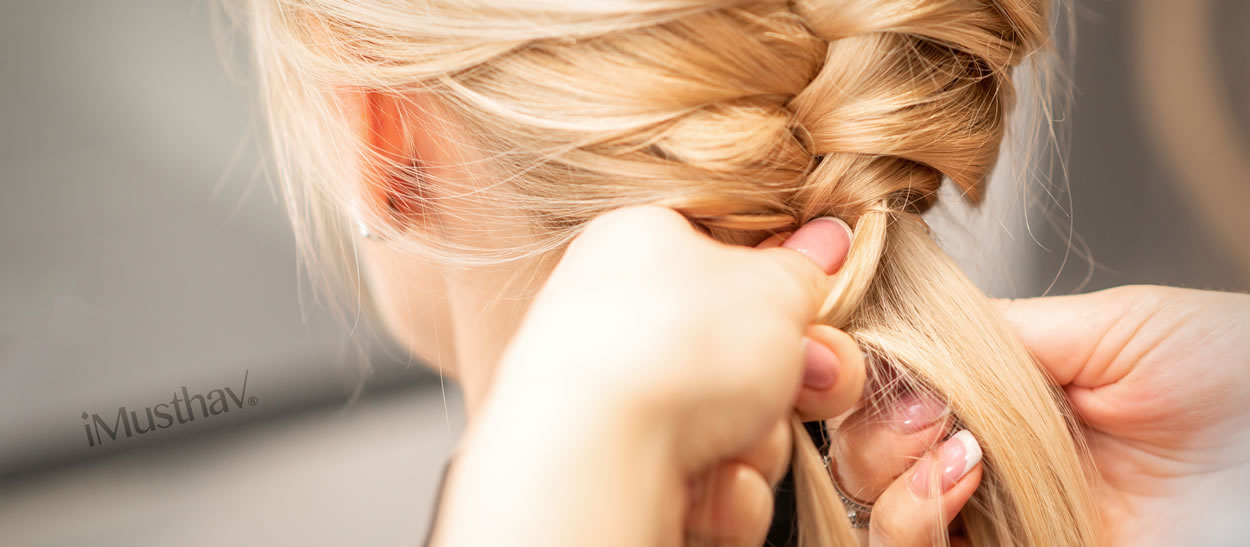
Cross the left strand over the middle strand, so that the left strand becomes the new middle strand and the middle strand becomes the new left strand. Next, cross the right strand over the new middle strand, so that the right strand becomes the new middle strand and the middle strand becomes the new right strand. This is the basic braiding technique that you will use throughout the process.
Step 4: Incorporate Additional Hair
As you continue braiding, begin to incorporate additional hair into the braid. Each time you cross a strand over the middle strand, gather a small section of hair from the side of your head and add it to the strand. This will create the signature French braid look, with hair being woven into the braid from both sides.

Step 5: Maintain Tension and Consistency
To ensure a neat and polished appearance, maintain consistent tension as you braid. Keep the strands tight and close to your scalp, but not so tight that it causes discomfort. As you work your way down the back of your head, make sure to keep the braid centered and the sections of hair evenly distributed.

Step 6: Finish the Braid
Once you have incorporated all of your hair into the braid, continue braiding the remaining strands in the traditional three-strand technique until you reach the end of your hair. Secure the braid with a hair tie, and gently tug on the sides of the braid to loosen it slightly for a more relaxed and effortless look.

Step 7: Add the Finishing Touches
For a chic and polished finish, smooth any flyaways with a small amount of hair serum or hairspray. You can also accessorize your French braid with hairpins, ribbons, or decorative hair ties to match your outfit and personal style.
Conclusion:
With practice and patience, anyone can master the art of French braiding. This versatile hairstyle is perfect for adding a touch of elegance and sophistication to your everyday look or for special occasions. iMusthav’s editor encourage you to experiment with different variations of the French braid, such as the Dutch braid or the fishtail braid, to discover your unique style and express your creativity through fashion.
Remember, the key to a great French braid is to keep the sections tight and close to the scalp, and to add small sections of hair each time you cross over. Happy braiding!
If you like our beauty tips, why do not you share them with your friends now? Welcome to share this post on your Facebook or retweet it on your Twitter account.

