Do you know why a superstar looks enchanting in front of the camera? The secret is here: Contouring and highlighting are two makeup techniques that can help enhance your facial features and create a more sculpted look. While these techniques may seem intimidating at first, with a little practice and the right tools, anyone can master them.
This week, iMusthav’s Editor would like to give you this guide, follow these steps to learn how to contour and highlight like a pro now:

Step 1: Use Facial Hair Remover
Before you start contouring and highlighting, it’s important to remove any facial hair that might interfere with the makeup application. Use a facial hair remover like the iMusthav Professional Facial Hair Remover (MV300) to get rid of any unwanted hair on your face, it has a 16mm dual ring floating head, for fast and comfortable facial hair removal, and it comes with a 360-degree LED illuminated bezel, allowing you easy to see the smallest stray hair and ensures a perfect hair-free complexion every time. This will create an even smoother canvas for your contour and highlight products.

Step 2: Choose the Right Products
After removing any facial hair, it’s time to choose the right products for your contour and highlight. For a cream contour and highlight, I recommend the Tarteist™ PRO Glow To Go Highlight & Contour Palette or the Fenty Beauty Match Stix Trio. If you prefer powder products, we suggest the Anastasia Beverly Hills Contour Kit or the Kevyn Aucoin The Sculpting Powder.

Step 3: Prep Your Skin
Before applying any makeup, it’s important to prep your skin. Start by cleansing your face with a gentle cleanser like the Cetaphil Daily Facial Cleanser and applying a moisturizer like the Neutrogena Hydro Boost Gel Cream. This will help create a smooth base for your makeup application.
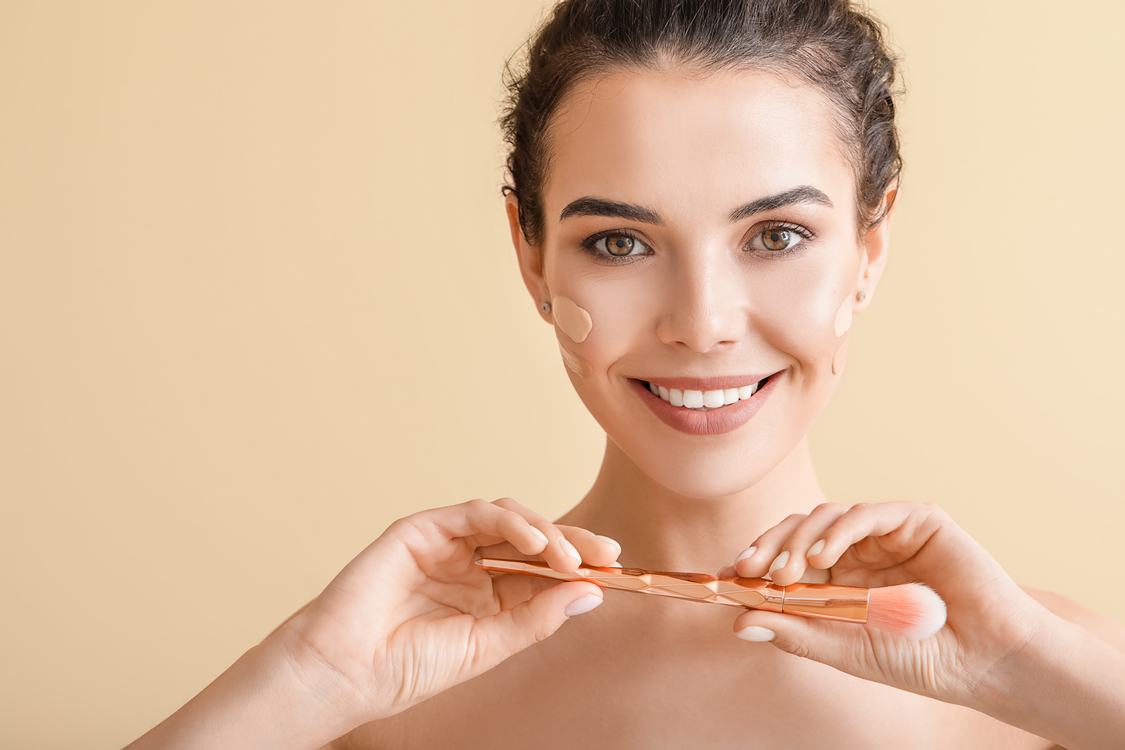
Step 4: Apply Foundation
Apply your foundation as you normally would, making sure to blend it evenly into your skin. For a flawless finish, I recommend the Estée Lauder Double Wear Stay-in-Place Makeup or the Maybelline Fit Me Matte + Poreless Foundation.
Step 5: Apply Contour
Using a contour brush like the Morphe M164 or a small blending brush like the Real Techniques Expert Face Brush, apply your contour shade to the areas of your face you want to sculpt.

These areas typically include the hollows of your cheeks, your jawline, and your temples. I recommend the shade “Fawn” from the Anastasia Beverly Hills Contour Kit or the shade “Amber” from the Kevyn Aucoin The Sculpting Powder.

Step 6: Apply Highlight
Using a highlight brush like the Morphe M310 or a small blending brush like the Real Techniques Setting Brush, apply your highlight shade to the areas of your face you want to bring forward.

These areas typically include the tops of your cheekbones, the bridge of your nose, and your cupid’s bow. I recommend the shade “Champagne Pop” from the Becca Shimmering Skin Perfector Pressed Highlighter or the shade “Trophy Wife” from the Fenty Beauty Killawatt Freestyle Highlighter.

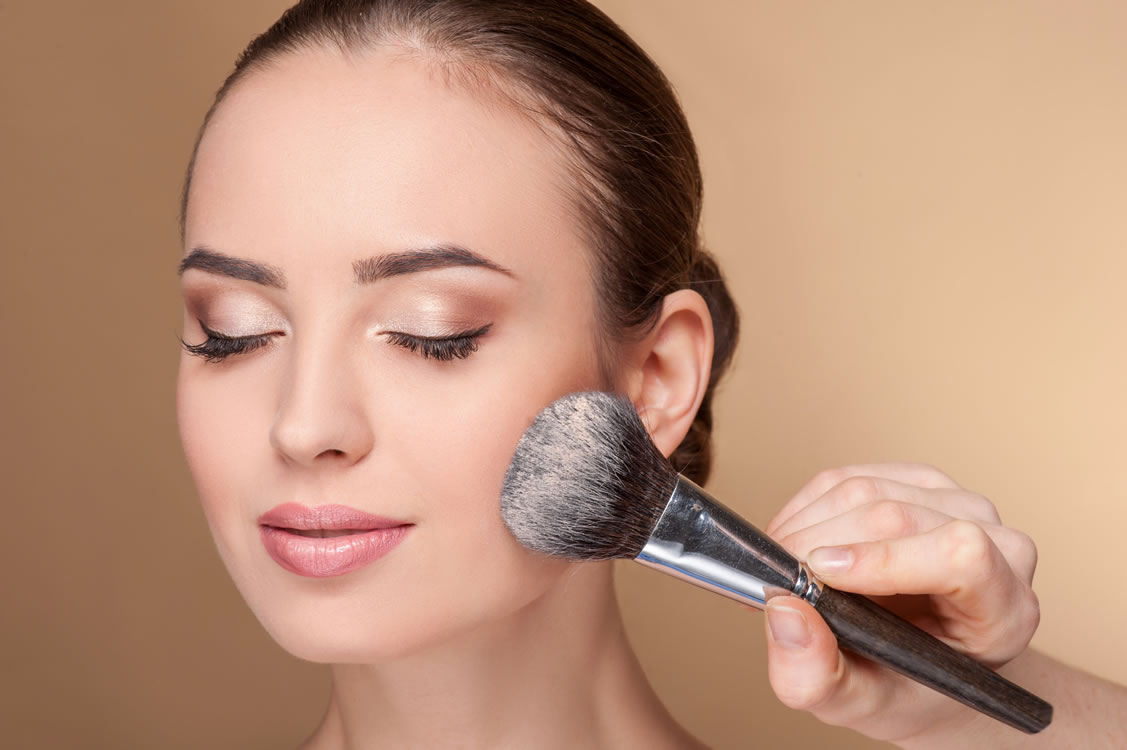
Step 7: Blend
Using a clean blending brush like the Sigma F80 Flat Kabuki Brush or a damp beauty sponge like the Real Techniques Miracle Complexion Sponge, blend your contour and highlight products together. This will create a seamless, natural-looking finish.
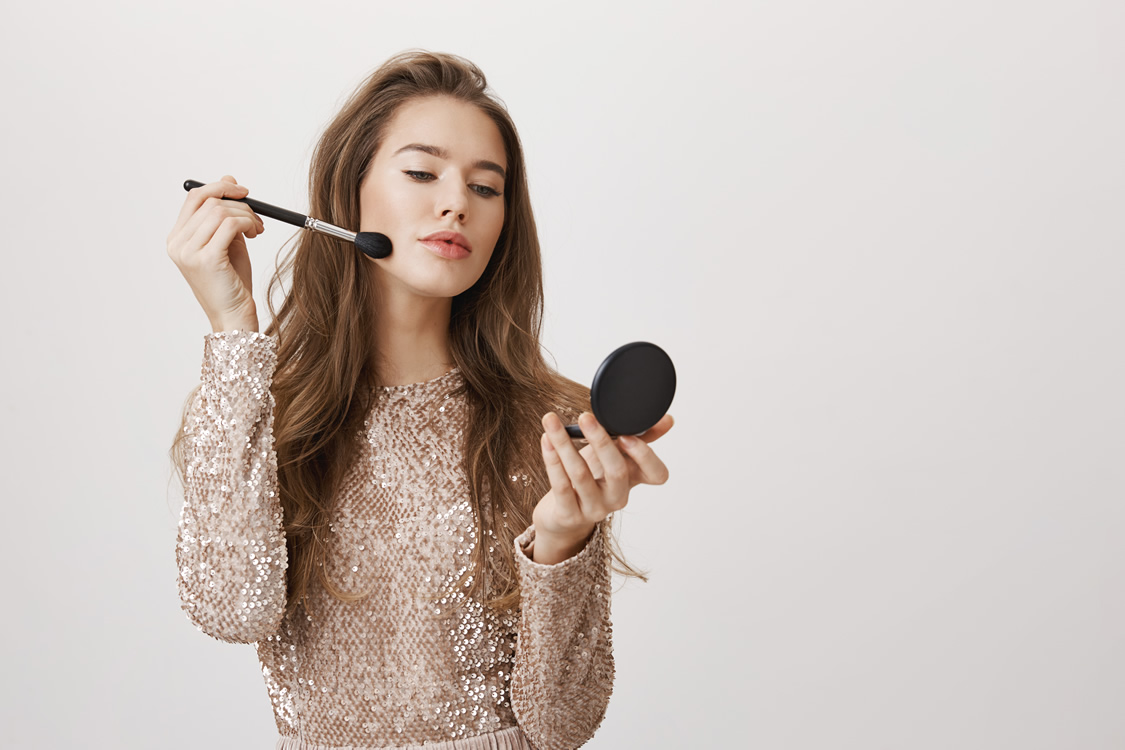
Step 8: Set Your Makeup
To set your makeup, apply a translucent powder like the Laura Mercier Translucent Loose Setting Powder or the Coty Airspun Loose Face Powder to your face using a powder brush like the Morphe M527 or a beauty sponge like the Real Techniques Miracle Powder Sponge. This will help your makeup last longer and prevent any unwanted shine.

Step 9: Finishing Touches
Finally, complete your look by adding any additional makeup products you like, such as blush or lipstick. For blush, I recommend the Milani Baked Blush in “Luminoso” or the NARS Orgasm Blush. For lipstick, I suggest the MAC Cosmetics Matte Lipstick in “Ruby Woo” or the Maybelline SuperStay Matte Ink Liquid Lipstick in “Pioneer”. You can also add a touch of shimmer to your highlight by applying a setting spray like the Urban Decay All Nighter Long-Lasting Makeup Setting Spray or the NYX Professional Makeup Matte Finish Setting Spray. This will help lock your makeup in place and give your skin a dewy finish.
And there you have it, a step-by-step guide to contouring and highlighting like a pro! With the right products and techniques, you can create a flawless, sculpted look that enhances your natural beauty. Don’t be afraid to experiment and find what works best for you. Happy contouring and highlighting!
If you like our beauty tips, why do not you share them with your friends now? Welcome to share this post on your Facebook or retweet it on your Twitter account.

